Installing Prerequisites
Homebrew is a package manager for macOS that allows you to install software and apps easily. We will be using Homebrew to install the software required to set up the virtual machine.
1. Installing Homebrew
-
Open the
Terminalapp.tipSpotlight Search is a search feature on macOS that allows you to instantly find files, apps, and other items on your Mac.
This guide involves a lot of different apps, so it's a good idea to get comfortable with using Spotlight Search to quickly open them. The shortcut to open Spotlight Search is
Command+Space.noteTo use Spotlight Search to open the
Terminalapp, pressCommand+Spaceto open up Spotlight Search, typeTerminal, and pressReturn.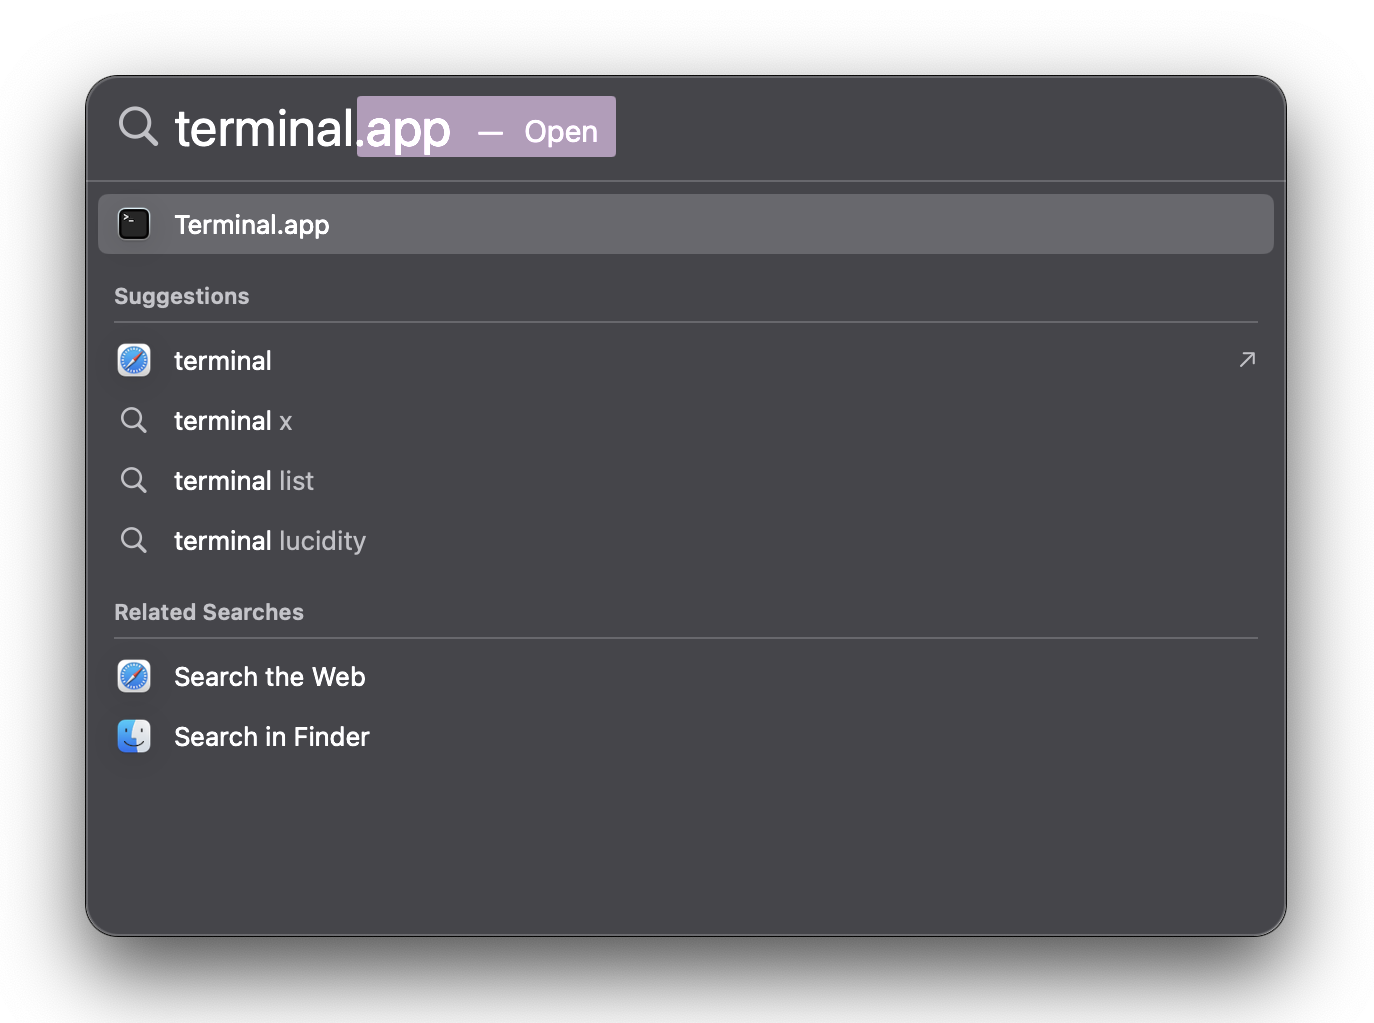
-
Copy and paste the following command into the terminal and press
Return:/bin/bash -c "$(curl -fsSL https://raw.githubusercontent.com/Homebrew/install/HEAD/install.sh)" -
Follow the instructions in the terminal to complete the installation.
- Enter your password when prompted
- Press
Returnto confirm the installation location - Wait for the installation to complete
2. Other Prerequisites
-
Close the Terminal window and open a new one.
tipPress
Command+Qto quit the Terminal app, then use Spotlight Search to open a new Terminal window. This works for most apps on macOS. -
Run
brew --versionto verify that Homebrew is installed. If you see a version number, Homebrew is installed correctly and you can proceed. If you see an error message, please refer to the Installing Homebrew section. -
Copy and paste the following command into the terminal and press
Return:brew install utm crystalfetch -
Wait for the installation to complete.